
Gas Line Installation for BBQ Grills: A Complete Homeowner's Guide

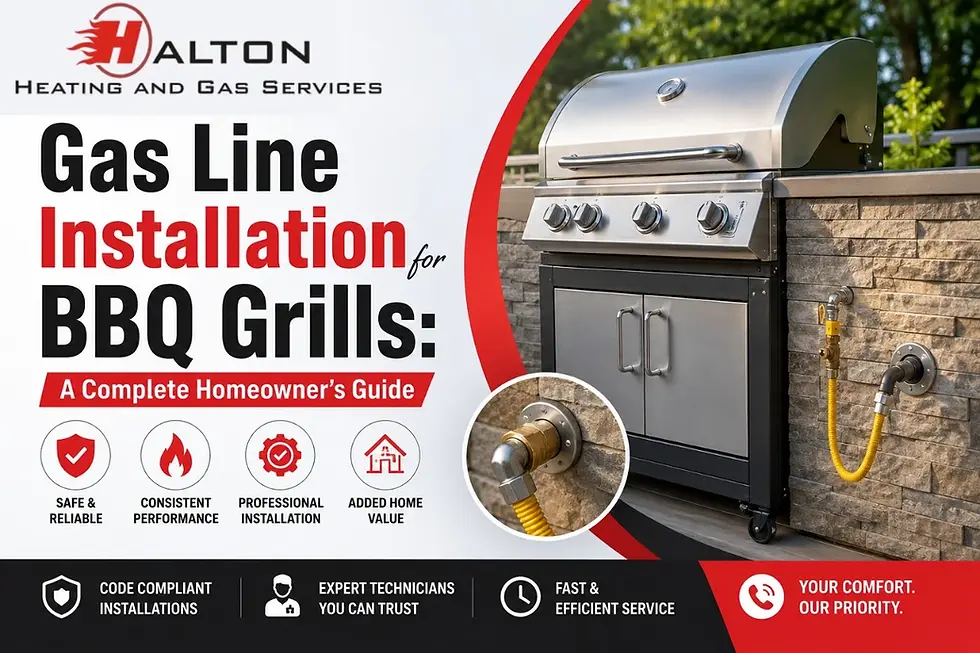
There's nothing quite like firing up a gas grill without worrying about propane tanks running dry mid-cookout. A properly planned gas line installation for BBQ grills gives you a permanent, reliable fuel supply straight from your home's natural gas or propane system — no more last-minute runs to the hardware store for a refill. But because this work involves combustible gas, pressure regulation, and local code compliance, it's a project that deserves careful thought before you pick up a pipe wrench.
This guide walks you through what a gas line installation for BBQ grills actually involves, the materials and steps professionals use, safety considerations you can't skip, and how to decide between a DIY approach and hiring a licensed technician. Whether you're upgrading an old propane grill or building a new outdoor kitchen, understanding the process will help you make informed decisions and keep your family safe.
Why Convert to a Natural Gas Line for Your BBQ Grill?
Most homeowners start out with propane tanks simply because that's how grills are sold. But propane has real downsides: tanks run out at inconvenient moments, they need to be transported and refilled, and they take up storage space. A dedicated gas line installation for BBQ grills solves all of that by tapping into your home's existing natural gas supply, giving you an uninterrupted fuel source for as long as you're cooking.
Natural gas is also generally more cost-effective over time compared to repeatedly purchasing propane, and it burns cleanly with a consistent flame. For homeowners who grill frequently — weekly cookouts, holiday gatherings, or daily dinners — the upfront cost of installation is often recovered within a few seasons.
Understanding the Basics of Gas Line Installation for BBQ Grills
At its core, a gas line installation for BBQ grills involves running a dedicated line from your home's main gas supply (or a propane tank with a regulator) out to the location of your grill. This typically includes:
A shut-off valve at the main gas line for safety and maintenance access
Black iron pipe, flexible stainless steel connectors, or approved PE (polyethylene) pipe for underground runs
A quick-connect fitting at the grill so it can be easily attached or detached
Proper burial depth and protective sleeving if the line runs underground
A pressure test to confirm there are no leaks before the system is used
Every step should meet the standards set out in your local plumbing and gas codes, as well as manufacturer specifications for your grill's BTU rating and connection type.
Step-by-Step: How the Installation Process Works
1. Planning and Permits
Before any pipe is cut, a proper plan accounts for the distance from the gas meter to the grill, the BTU demand of the appliance, and the pipe diameter needed to maintain adequate pressure. Many municipalities require a permit for gas line work, and an inspection is often mandatory once the job is complete.
2. Selecting the Right Materials
Black iron pipe is the traditional choice for exposed, above-ground runs, while flexible stainless steel connectors make it easier to navigate tight spaces near the grill itself. For lines that need to run underground to reach a patio or outdoor kitchen, code-approved PE piping with tracer wire is typically used so the line can be located later without digging blind.
3. Running and Securing the Line
The line is routed from the shut-off valve to the grill location, secured against movement, and protected from physical damage — especially where it passes through walls, under decking, or below grade. Sleeves and bushings prevent abrasion at pipe penetrations.
4. Pressure Testing
Once connected, the entire system is pressurized with air or inert gas and monitored for a set period to confirm there's no drop in pressure, which would indicate a leak. This step is non-negotiable — skipping it is one of the most common (and dangerous) DIY shortcuts.
5. Final Connection and Inspection
After testing, the quick-connect fitting is installed at the grill, the system is purged of air, and a local inspector (where required) signs off on the work before it's put into regular use.
DIY vs. Hiring a Professional
It's technically possible for a confident, experienced homeowner to install above-ground black iron piping themselves. However, gas work carries real risks: an undetected leak can lead to fire, explosion, or carbon monoxide exposure. Underground runs, tie-ins to the main gas supply, and any work requiring a permit are best left to a licensed gas fitter who carries the right insurance and testing equipment.
If you want the peace of mind of a code-compliant, pressure-tested installation, working with an experienced provider like Halton Gas's professional gas fitting services ensures the job is done safely the first time, with proper documentation for insurance and resale purposes.
Not sure whether your project needs a licensed professional? Meet our team of licensed gas fitting technicians to see the qualifications and experience behind every installation we complete.
Safety Considerations You Shouldn't Skip
Always install a dedicated shut-off valve within easy reach of the grill
Never bury a gas line without the code-required depth and tracer wire
Use only fittings and hose rated for the specific gas type (natural gas vs. propane)
Schedule a professional leak test annually, especially before peak grilling season
Keep the grill and gas line at least the manufacturer-recommended distance from siding, railings, and overhangs
Maintenance Tips to Extend the Life of Your Gas Line
Once your gas line installation for BBQ grills is complete, a little routine care goes a long way. Inspect visible fittings for corrosion or wear each season, check the quick-connect coupling for smooth operation, and apply a soap-and-water test to joints periodically — bubbling indicates a leak that needs immediate attention. If you ever smell gas, hear hissing near a connection, or notice your grill's flame behaving inconsistently, shut off the valve and call a professional right away.
If you're planning a larger outdoor cooking space, take a look at our guide to designing a safe outdoor kitchen for tips on laying out appliances, ventilation, and gas connections together.
Final Thoughts
A well-planned gas line installation for BBQ grills turns your backyard into a true extension of your kitchen — always ready, always fueled, and free from the hassle of propane tank swaps. While some above-ground work can be a manageable DIY project for experienced homeowners, the safest and most reliable results come from proper planning, code-compliant materials, and a thorough pressure test before first use. When in doubt, a licensed gas fitting professional can design and install a system tailored to your outdoor space and grill's requirements.
Ready to get started? Request a free quote from Halton Gas and our team will help you plan a safe, code-compliant installation for your outdoor space.
Frequently Asked Questions
How much does a gas line installation for BBQ grills typically cost?
Costs vary widely based on the distance from your gas meter to the grill, whether the line runs above ground or underground, and local labor rates. Short, simple above-ground runs are on the lower end, while longer underground installations with trenching cost more. Getting a written quote after an on-site assessment is the best way to know your actual price.
Do I need a permit to install a gas line for my BBQ grill?
In most municipalities, yes. Gas line work is typically regulated because of the safety risks involved, and many areas require a permit and a final inspection before the line can be used. Check with your local building department before starting any work.
Can I convert my propane grill to run on natural gas?
Many grills can be converted with a manufacturer-approved conversion kit, which swaps out the orifices and regulator to match natural gas pressure. Always confirm your specific grill model supports conversion, since not all can be safely modified.
How deep does a gas line need to be buried?
Burial depth requirements depend on your local gas code and whether the line is under a driveway, lawn, or planting bed, but many jurisdictions require at least 12 to 18 inches of cover, along with tracer wire so the line can be located electronically in the future. A local licensed installer will know the exact requirement for your area.
How do I know if my gas line has a leak?
Warning signs include the smell of rotten eggs (a chemical additive used to make gas detectable), a hissing sound near fittings, dead or discolored vegetation above a buried line, or unusually high gas bills. If you suspect a leak, turn off the gas supply, avoid open flames or electrical switches, leave the area, and contact your gas utility or a professional immediately.

Comments